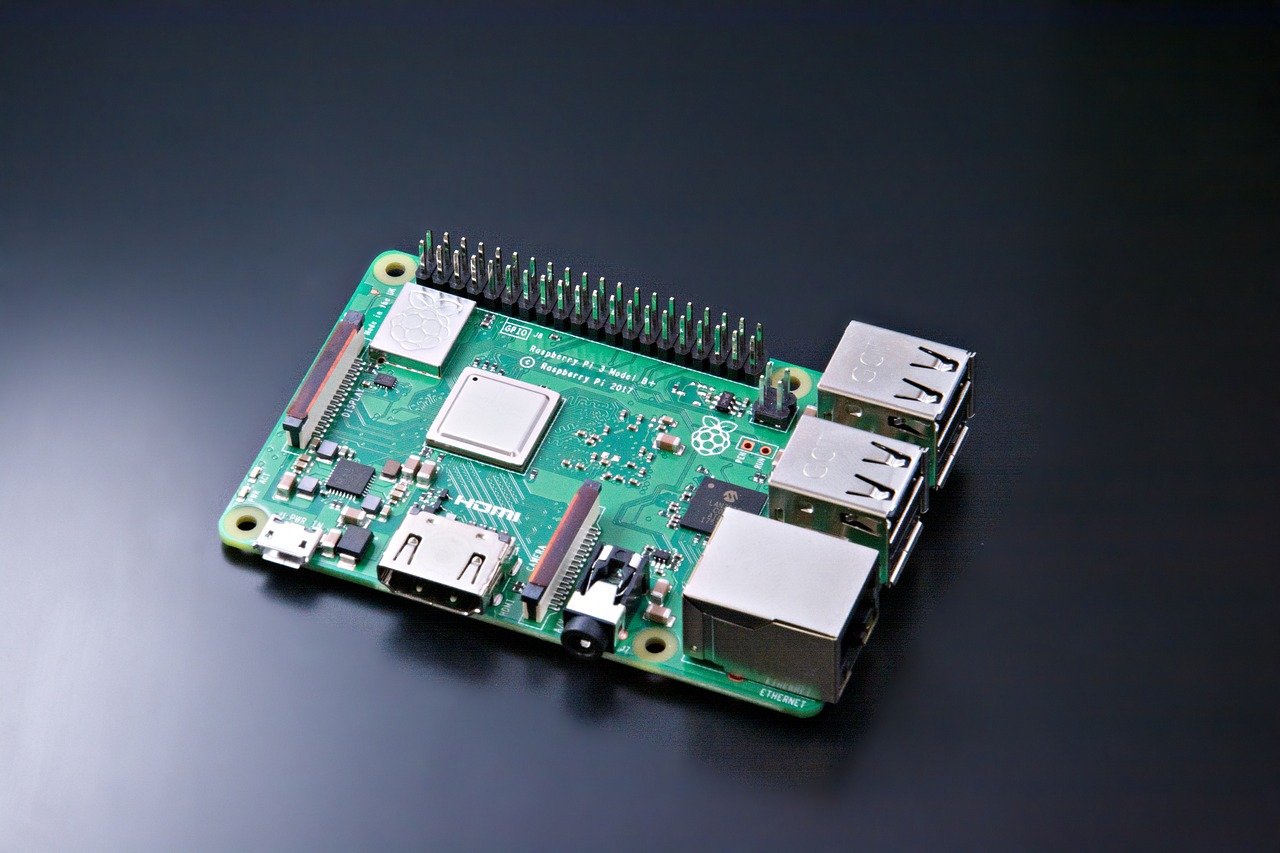
What to do when your raspberry pi 3B+ has only a red LED and won't boot
(Or lessons from burning up my pi a.k.a don't do critical work when you are exhausted)

Denial ain't just a river...
To be frank, it is probably dead.
Sorry to be blunt. I knew this on some level the moment the green LED stopped glowing and my monitor went blank, but denial is a mighty powerful thing. This is not really a post that will teach you how to troubleshoot your board. (More on that later.) This is more of a cathartic rant to make this human feel better.
Wrong? Who, me?
Posting your mistakes online is like hanging up a target on your head for trolls and non-trolls who feel insecure about your achievements. I still believe that we should be much more open about our screw ups than we are. This one is for anyone starting out and feeling a bit isolated, because asking questions as a beginner feels daunting.
I hope this also serves as a caveat to those who are starting off with the board. The Raspberry Pi is amazing piece of hardware and I would want you to get the most out of it. This article is also not meant for more advanced users. (But you're free to share anything constructive in the comments ☺ )
What I learned, for the low, low price of $35
- Try not to work with your Raspberry Pi (Arduino/BeagleBone/waffle cone) when you are extremely tired: (Ha!) I know. I know. So much work to do. Late night inspiration. It's much quieter at 3 am. Deadlines.
All these boards expect a certain level of sophistication when it comes to handling. Most of us manage with that wonderfully in an alert state. But a tired brain makes all kinds of stupid mistakes. The same brain also goes "I told you so, you &%@#&", once it is well rested and finishes examining the disaster it left in its wake. If only one thing from this post sticks with you, let it be this point.
- Check the pi cobbler/T-cobbler connections carefully. The cobbler is a painless way to connect your raspberry pi pins via a 2x20 pin connector to a breadboard via a 40 pin GPIO cable without soldering.
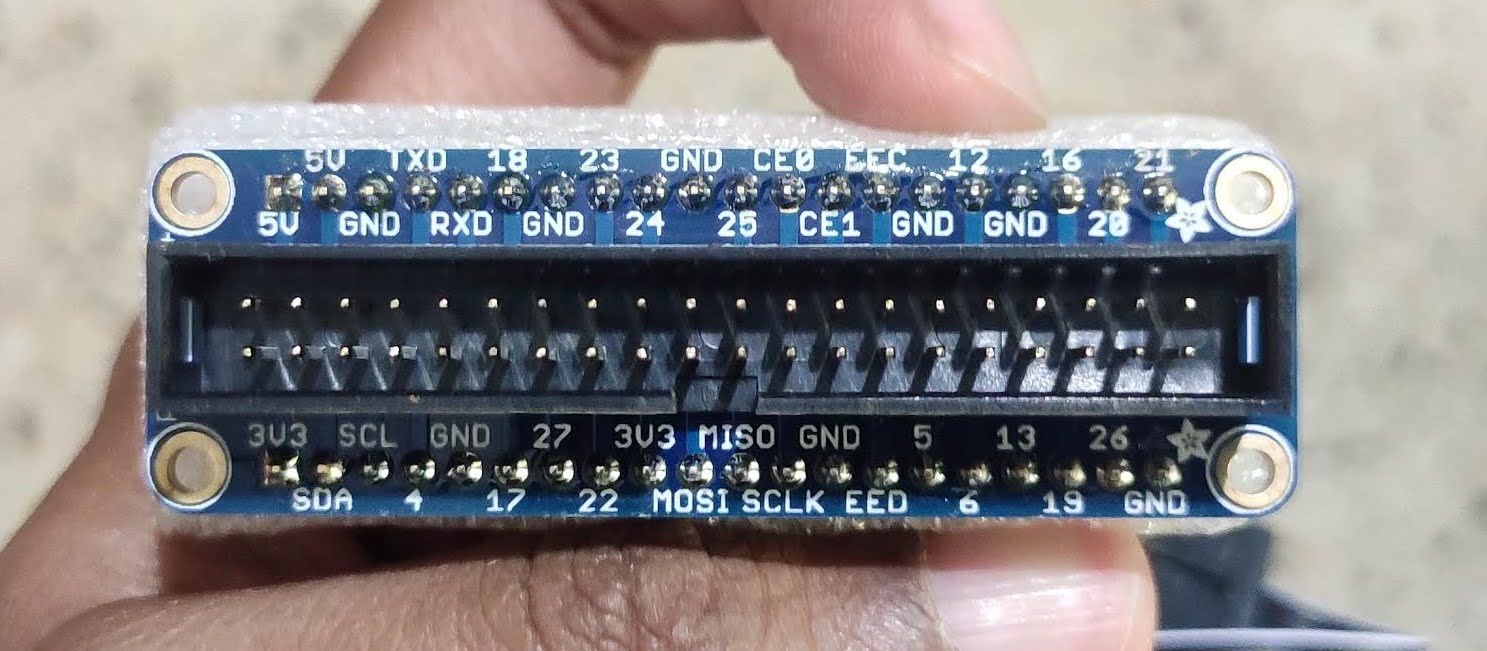 You can test out your connections quickly. The pins on the cobbler are labelled to make it simpler to make connections while using a breadboard. But any confusion with the non labelled end of the cable could lead to mistakes while making your connections. I had bought the older version of the pi cobbler. I personally prefer the T-cobbler. It has more readable labels.
In hindsight, somehow the 5V and 3.3V supply pins of the Pi were connected, shorting the two voltage rails, effectively killing it. Take extra care when you are using peripherals that have an rating of 3.3V. Connecting it to a 5V supply pin will just make them go up in toxic smoke.
- Try not to blame yourself, the manufacturer, the supplier, the shop guy, or your dog. (Especially your dog.) This is not a case of manufacturing fault. It's is purely a result of mishandling and/or bad luck. You'll burn up a few things (breakouts boards, sensors, bridges, etc.) while learning. It doesn't make you any less capable.
There was nothing more I could do except to take my pi out of usage and prepare to dispose it off responsibly. (Well, it's actually lying in a box on some shelf. )
If only we could eat our electronics once they are no longer viable for usage. Maybe that's a mission for the future.
If you want to troubleshoot your Raspberry Pi 3B+, there is an amazing sticky here, over at the Raspberry Pi forums, to help you with booting problems.